Chapter One.
In order to manage risk we must first understand risk. How do you spot risk? How do you avoid risk, and what makes it so risky?

Just kidding !
With my very first blog post on here, I thought it would only be right to pay homage to our wireless beginnings, and start off on the topic of my HAM Radio! Well…more specifically the installation of my Yaesu FT-8800R VHF/UHF Dual Band Amateur Radio Transceiver in my humble 2006 Honda Civic.


The Civic isn’t really a vehicle that is ‘HAM friendly’ if you will, so I had to find some sort of solution that would look clean and not stand out too much. Overall I was able to come up with a nice clean install that is up to my standards and it works very well.
I started out with getting the main body of the radio installed securely in my trunk, up out of the way so that I would never have to worry about it again (except for what I want to program in some repeaters etc., which I can do from the back seat with a USB extension cable).
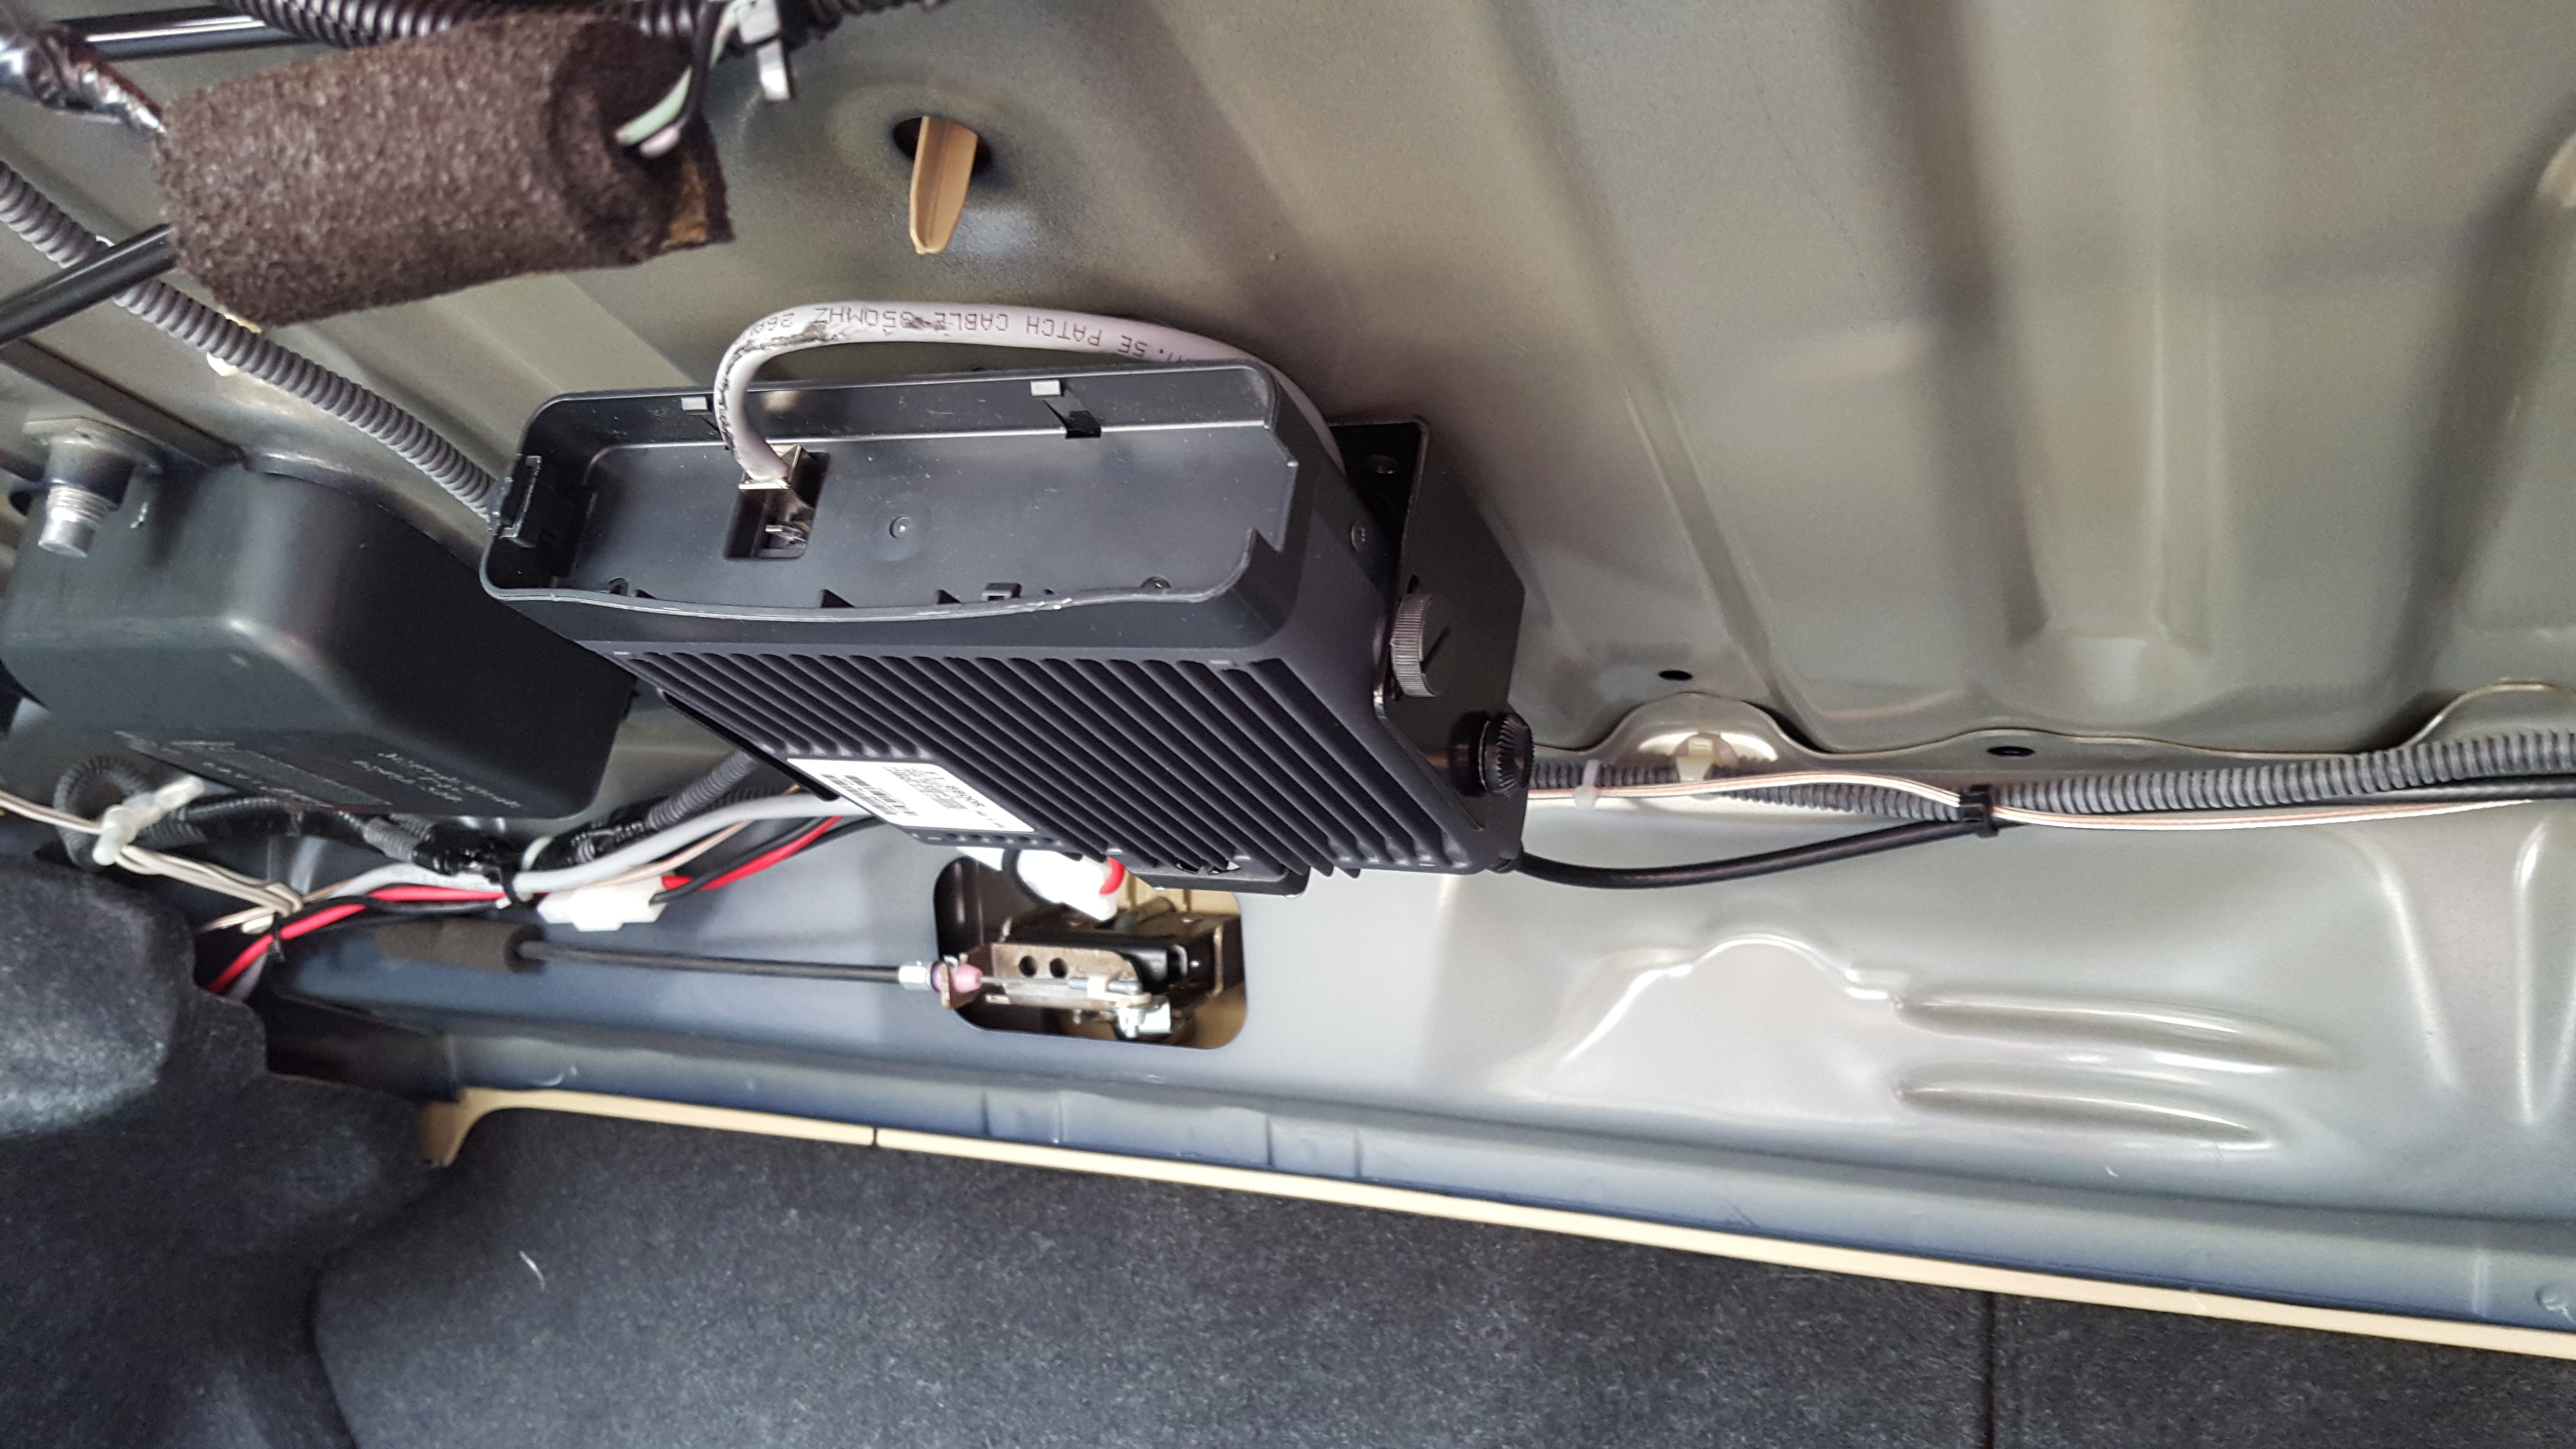
It’s important to make sure the cables and what not are secured and out of the way. I still plan to use my trunk after all!


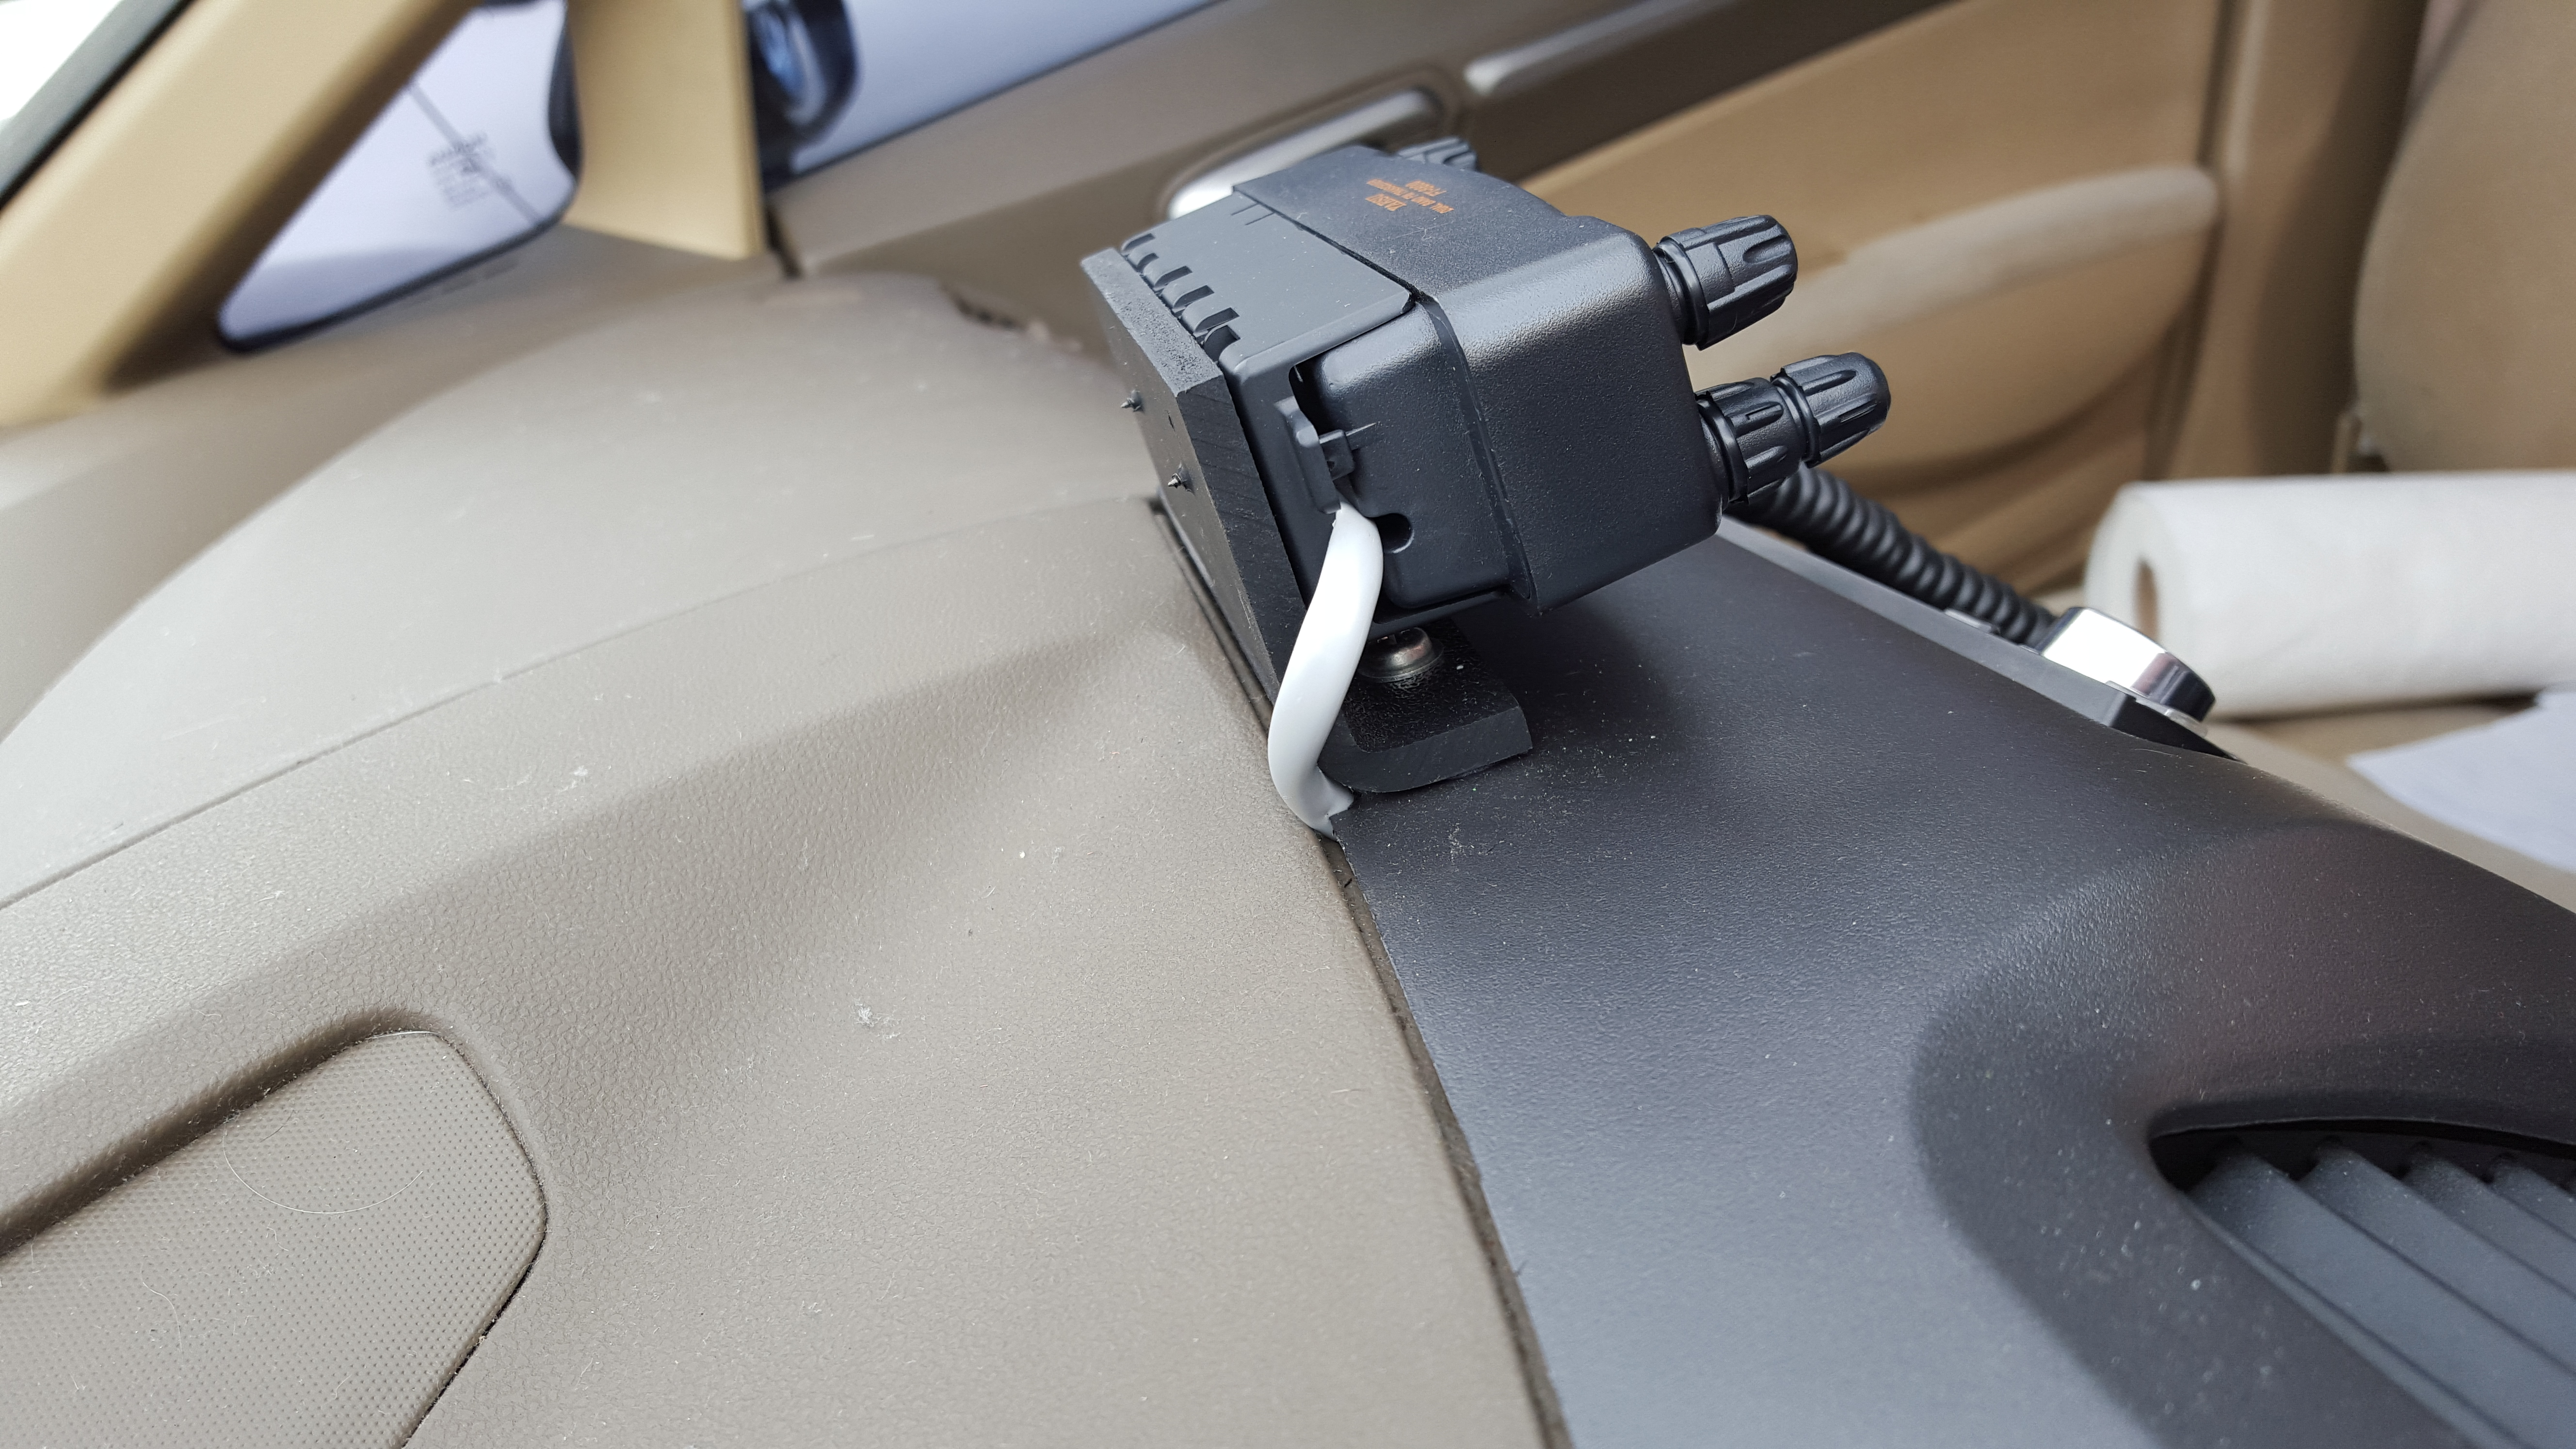
The Yaesu has a remote head unit, that connects to the main body via an RJ-12 cable that I had to route through the body of the car on the inside. Once this was done, I was able to get the remote head unit mounted up on my dash. This puppy isn’t moving anywhere. =)
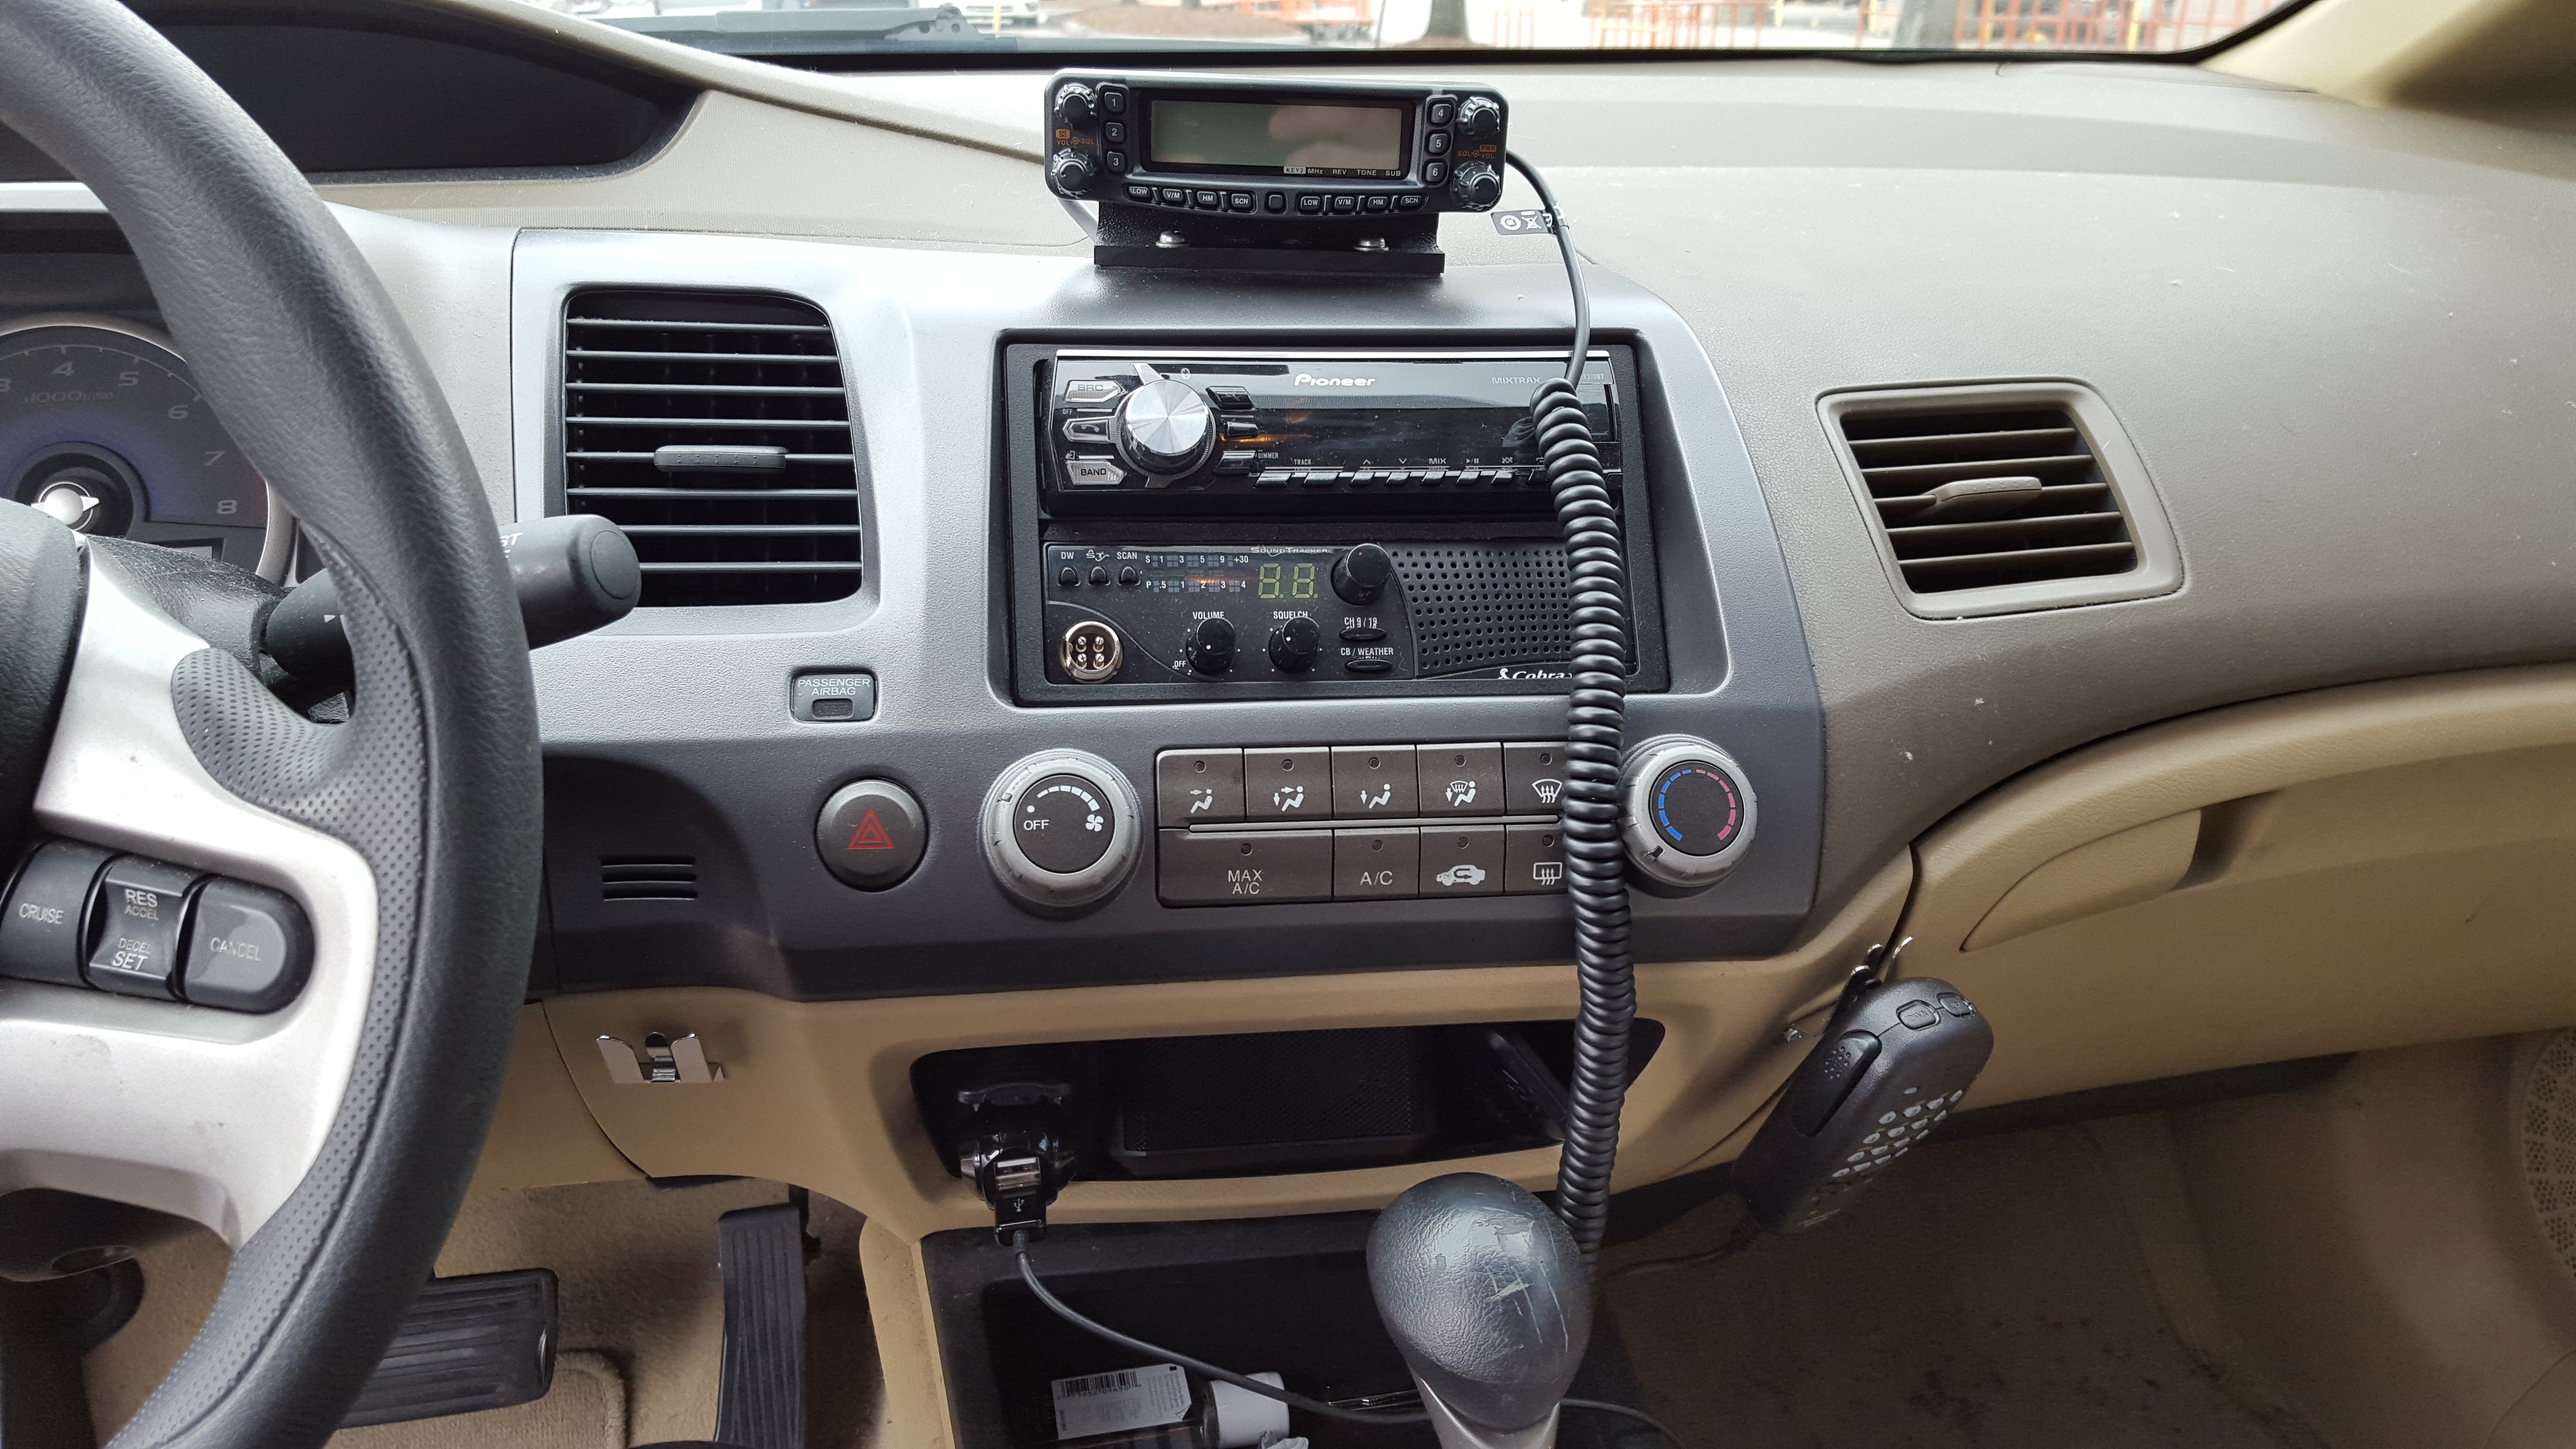
PS: You can ignore the in-dash CB Radio there, as its broken and I need to get it replaced =(
My next mission was the antenna and this was the tricky part. I refuse to put an antenna on my trunk (lip mount or magnet) because I use my trunk far too often to make that feasible. An alternative location was a magnet mount on top of the car (and for RF purposes the best location as the vehicles body would act as a ground plane), but alas I was unable to get this solution since the coax cable was too thick to ‘hide in my rear windshield grooves’ to my trunk.
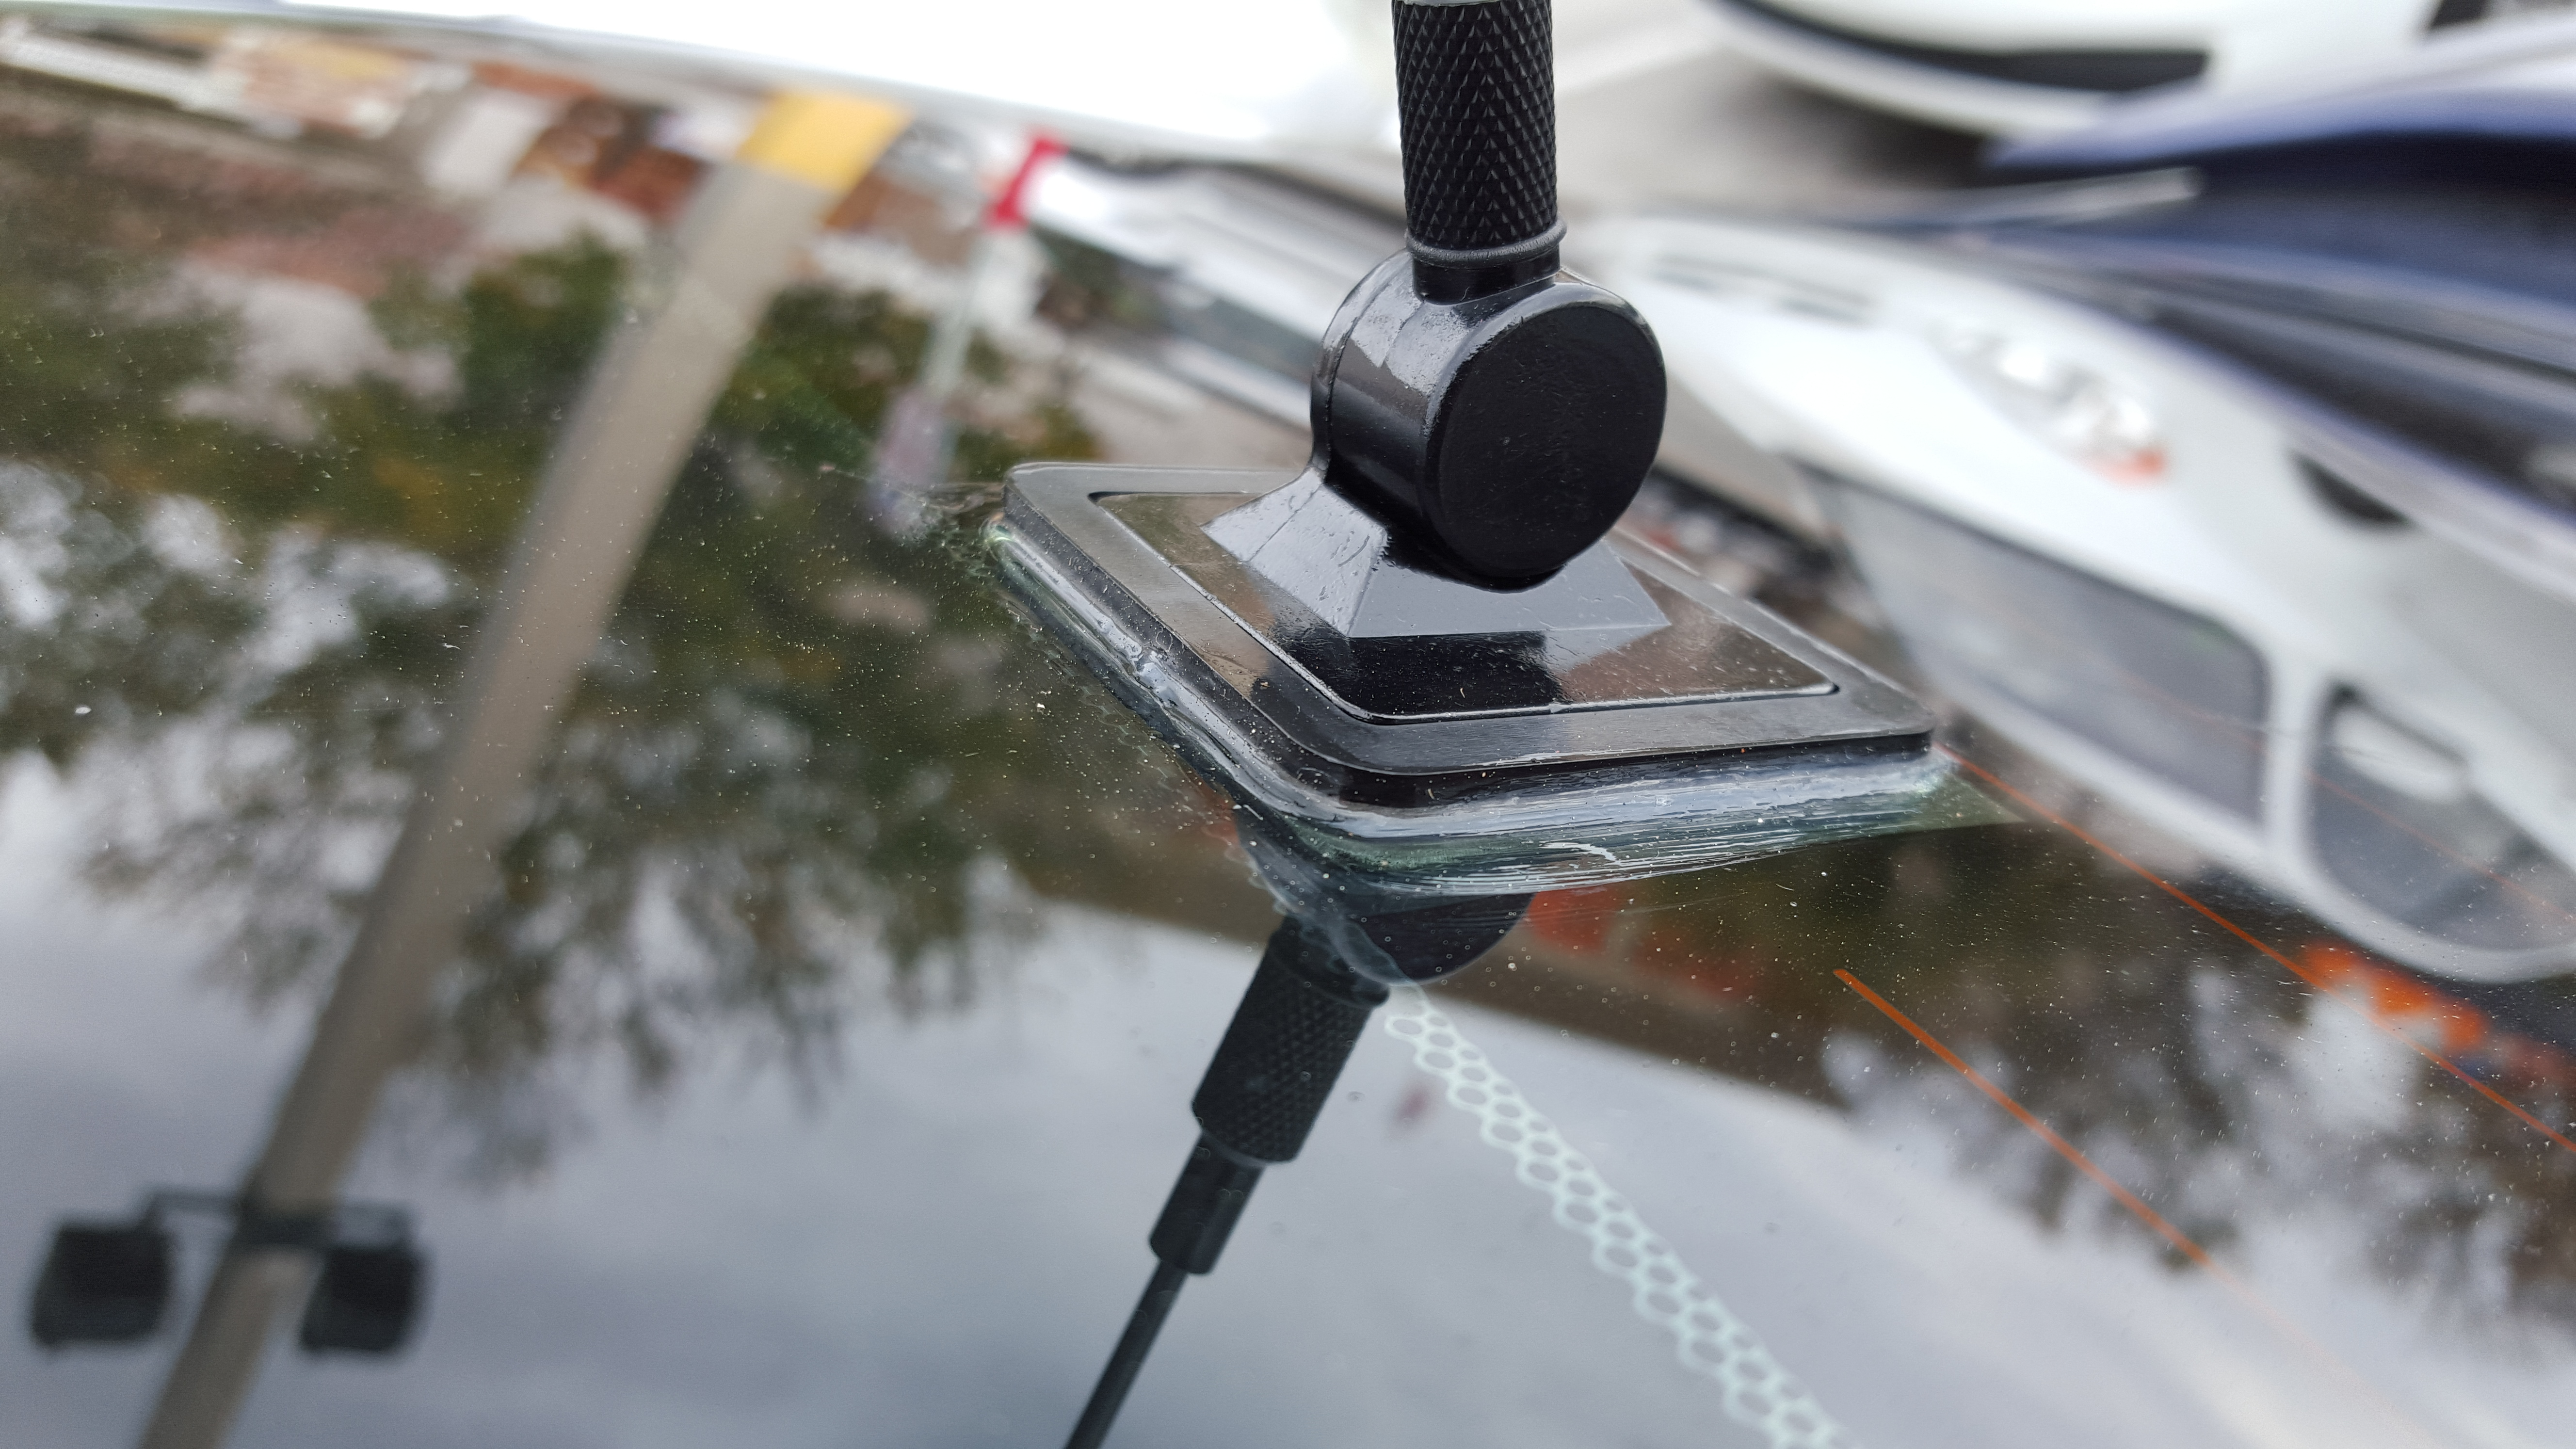
I finally settled on a solution that I usually frown upon, but was pleasantly surprised with in regards to performance. The MFJ-1734 Glass Mount Antenna.
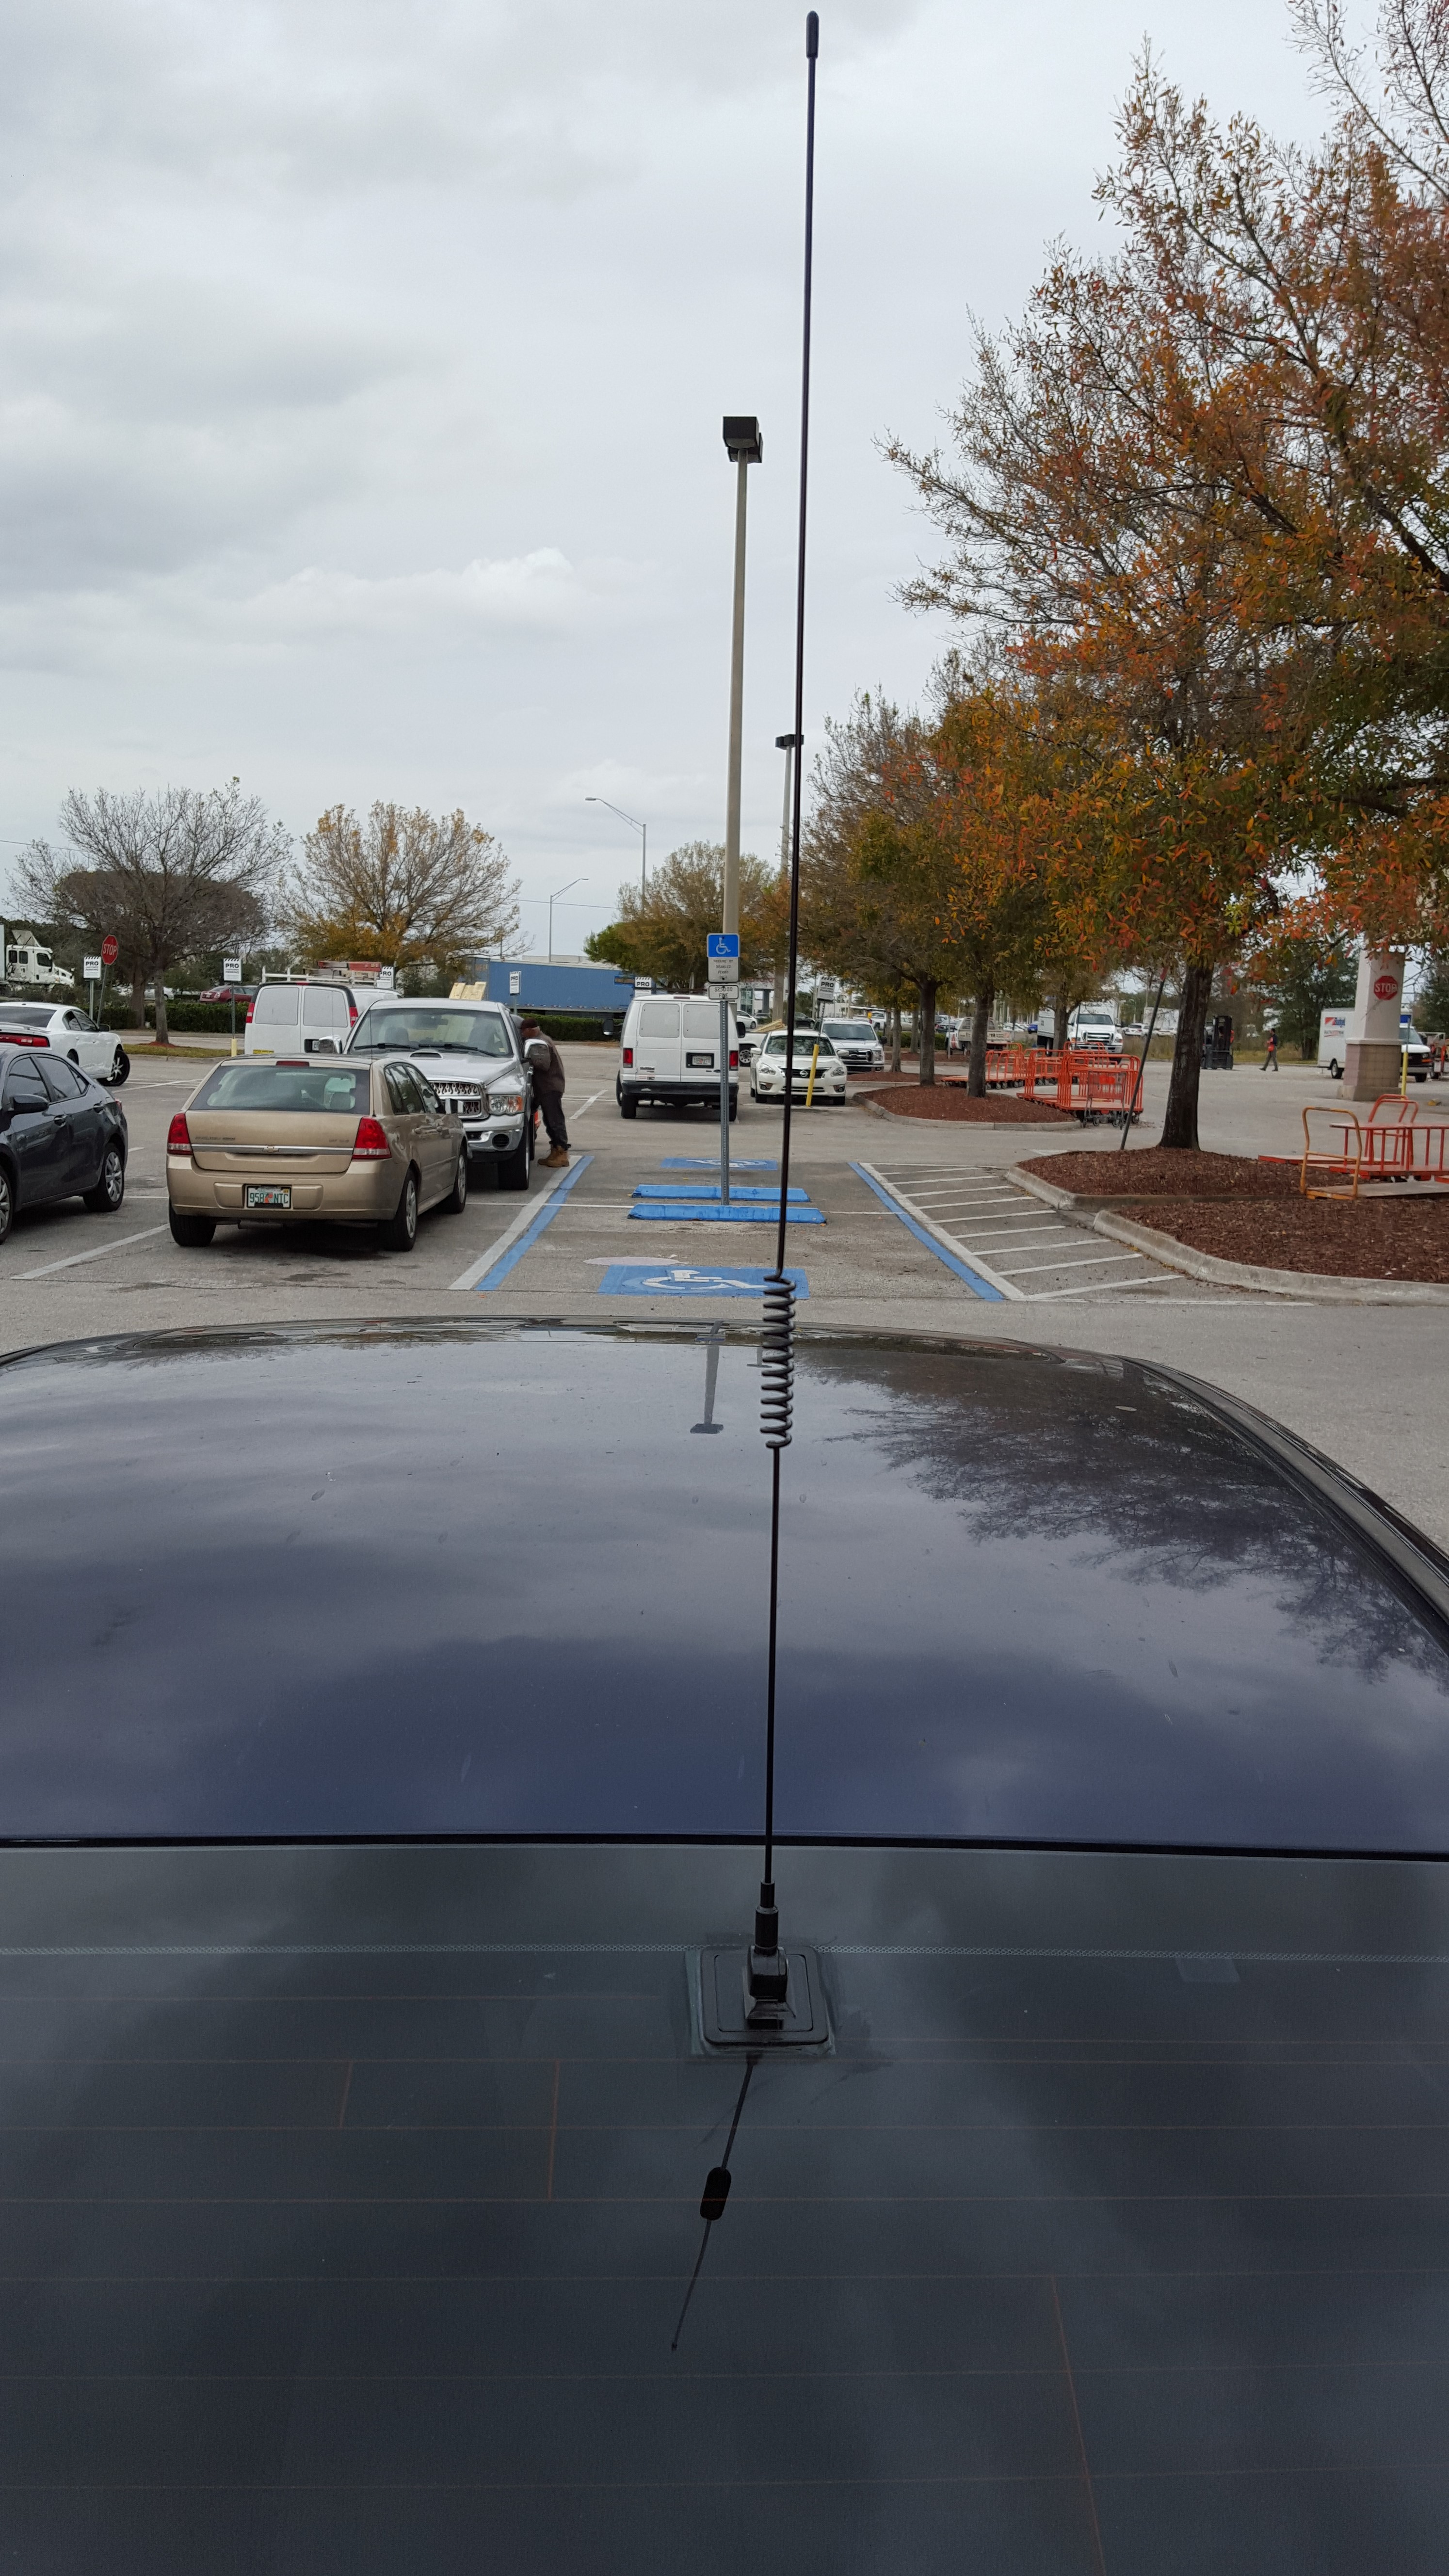
From some advice from a local HAM, I also added some clear weather proof silicon around the outer edge to help protect the 3M bonding material. Needless to say, this thing is going to be a pain to pull off if the time comes.
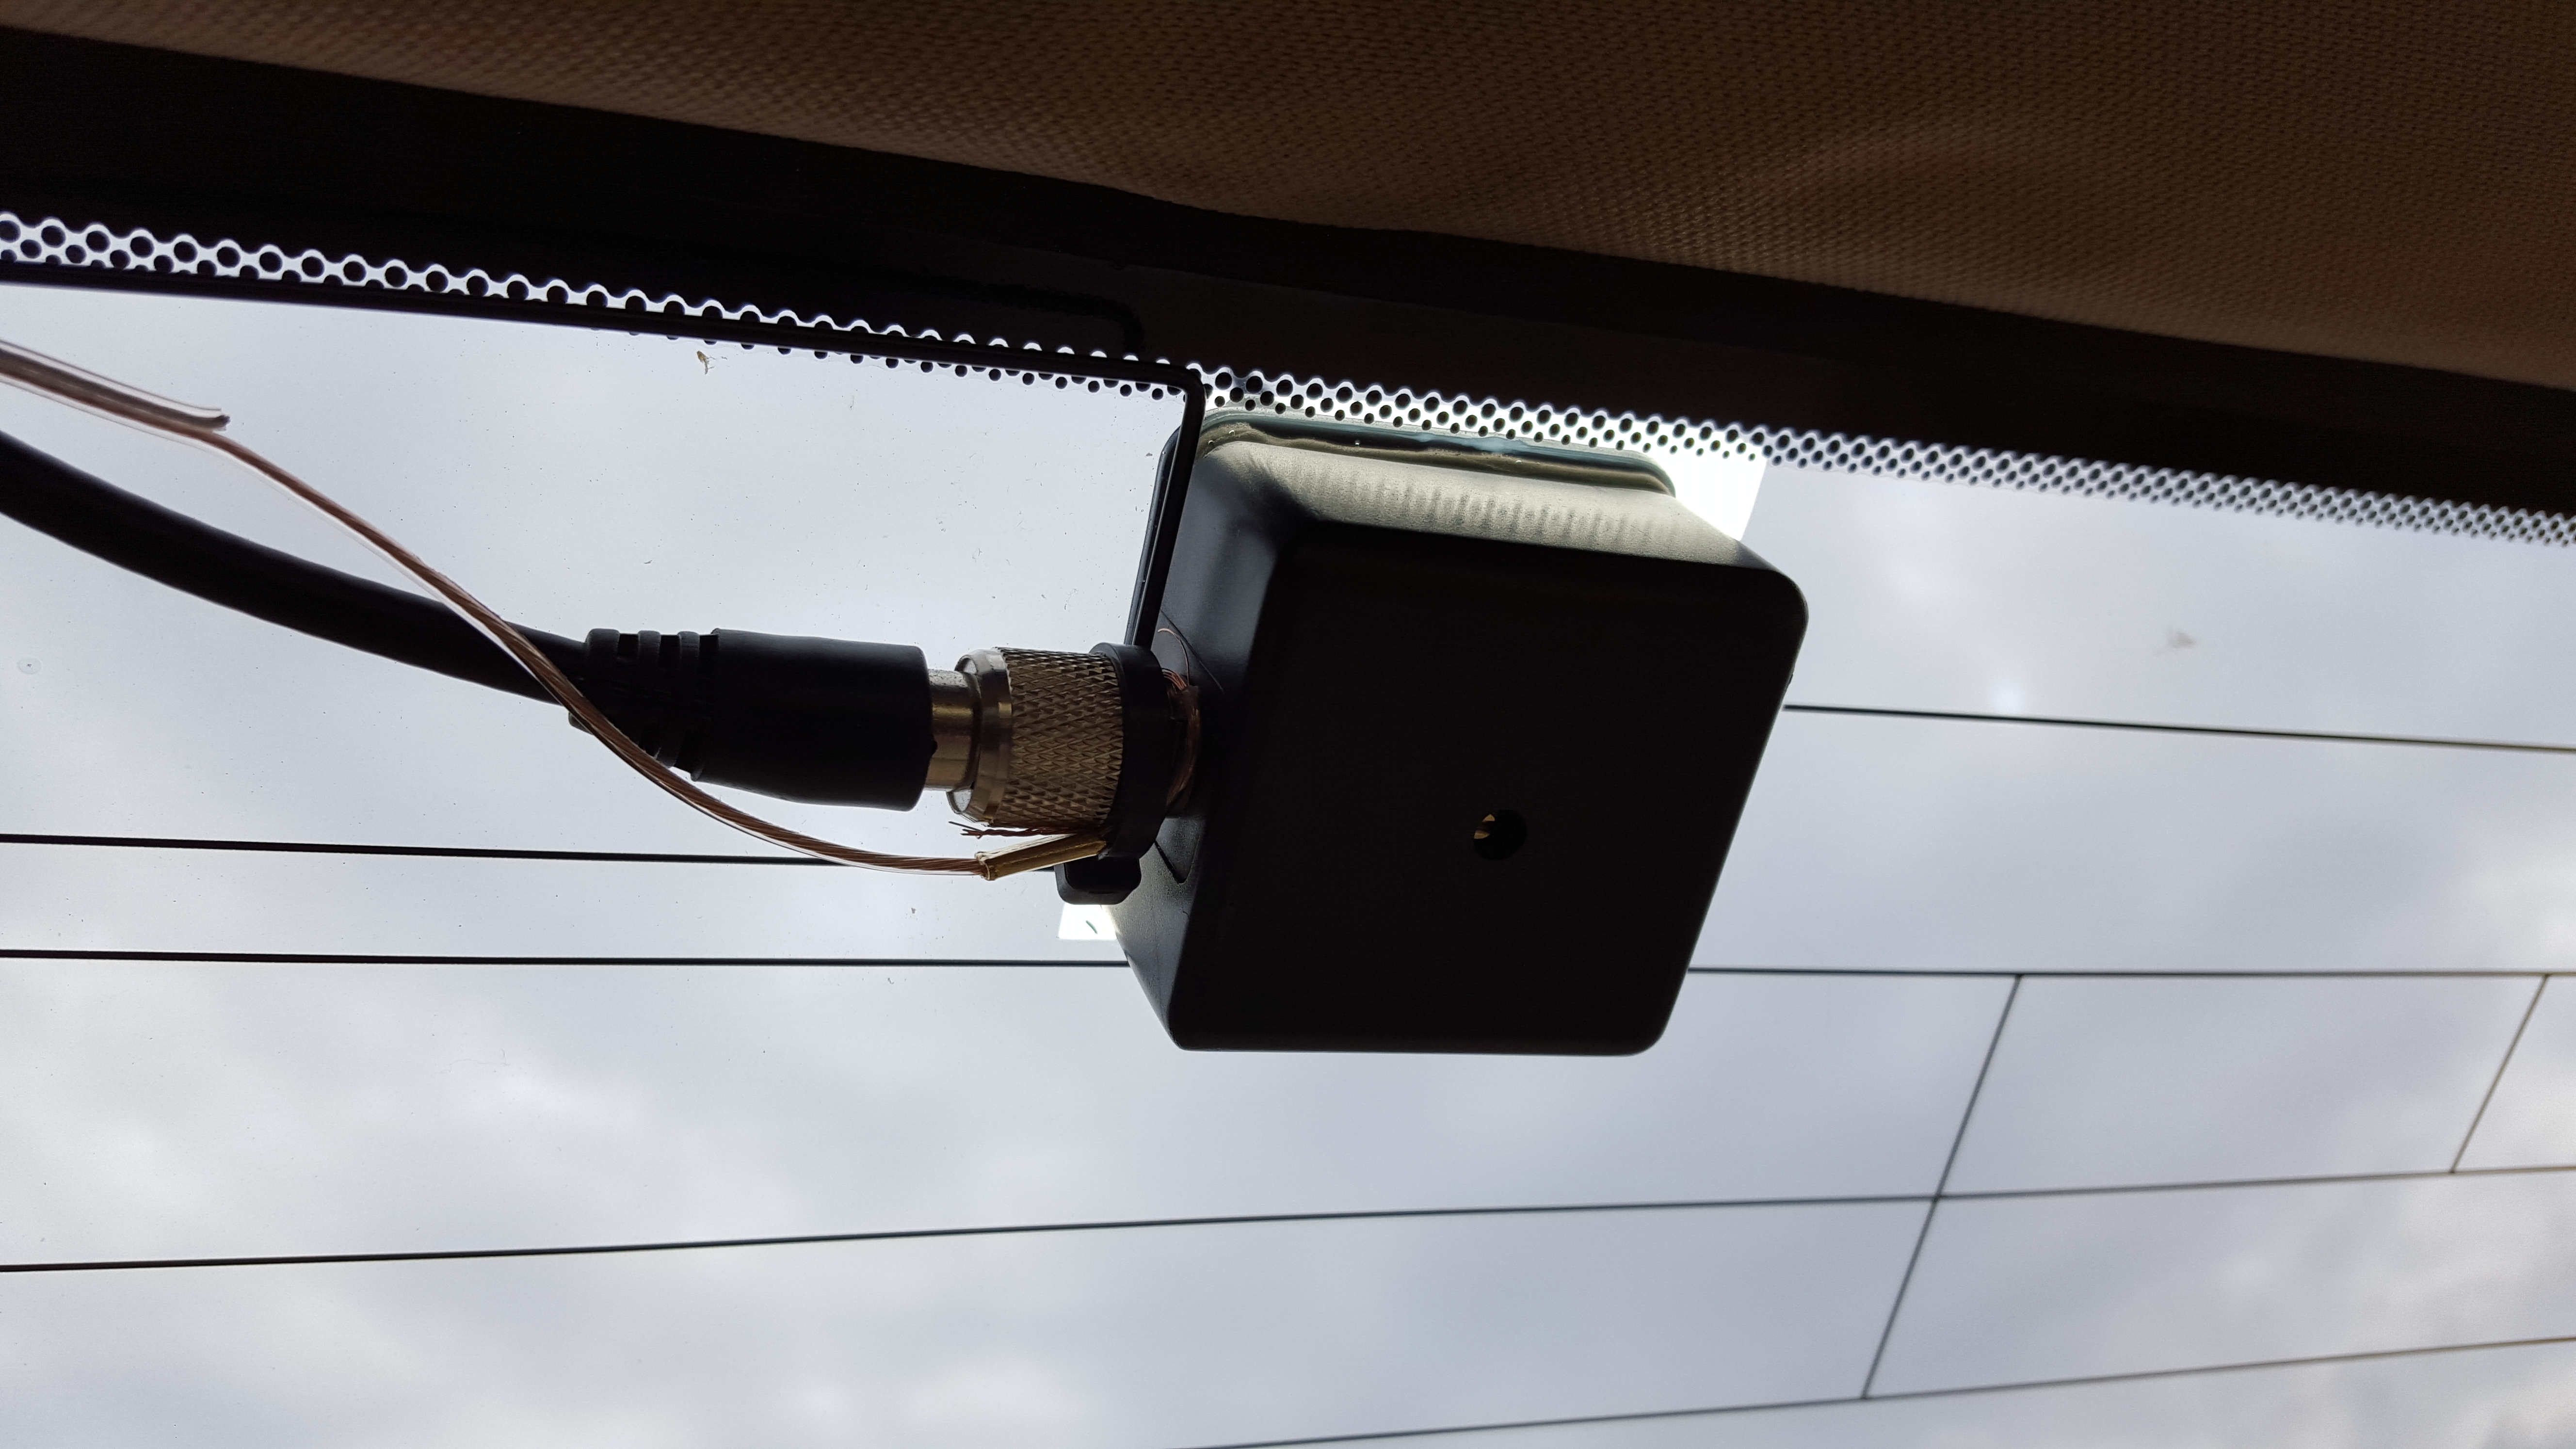
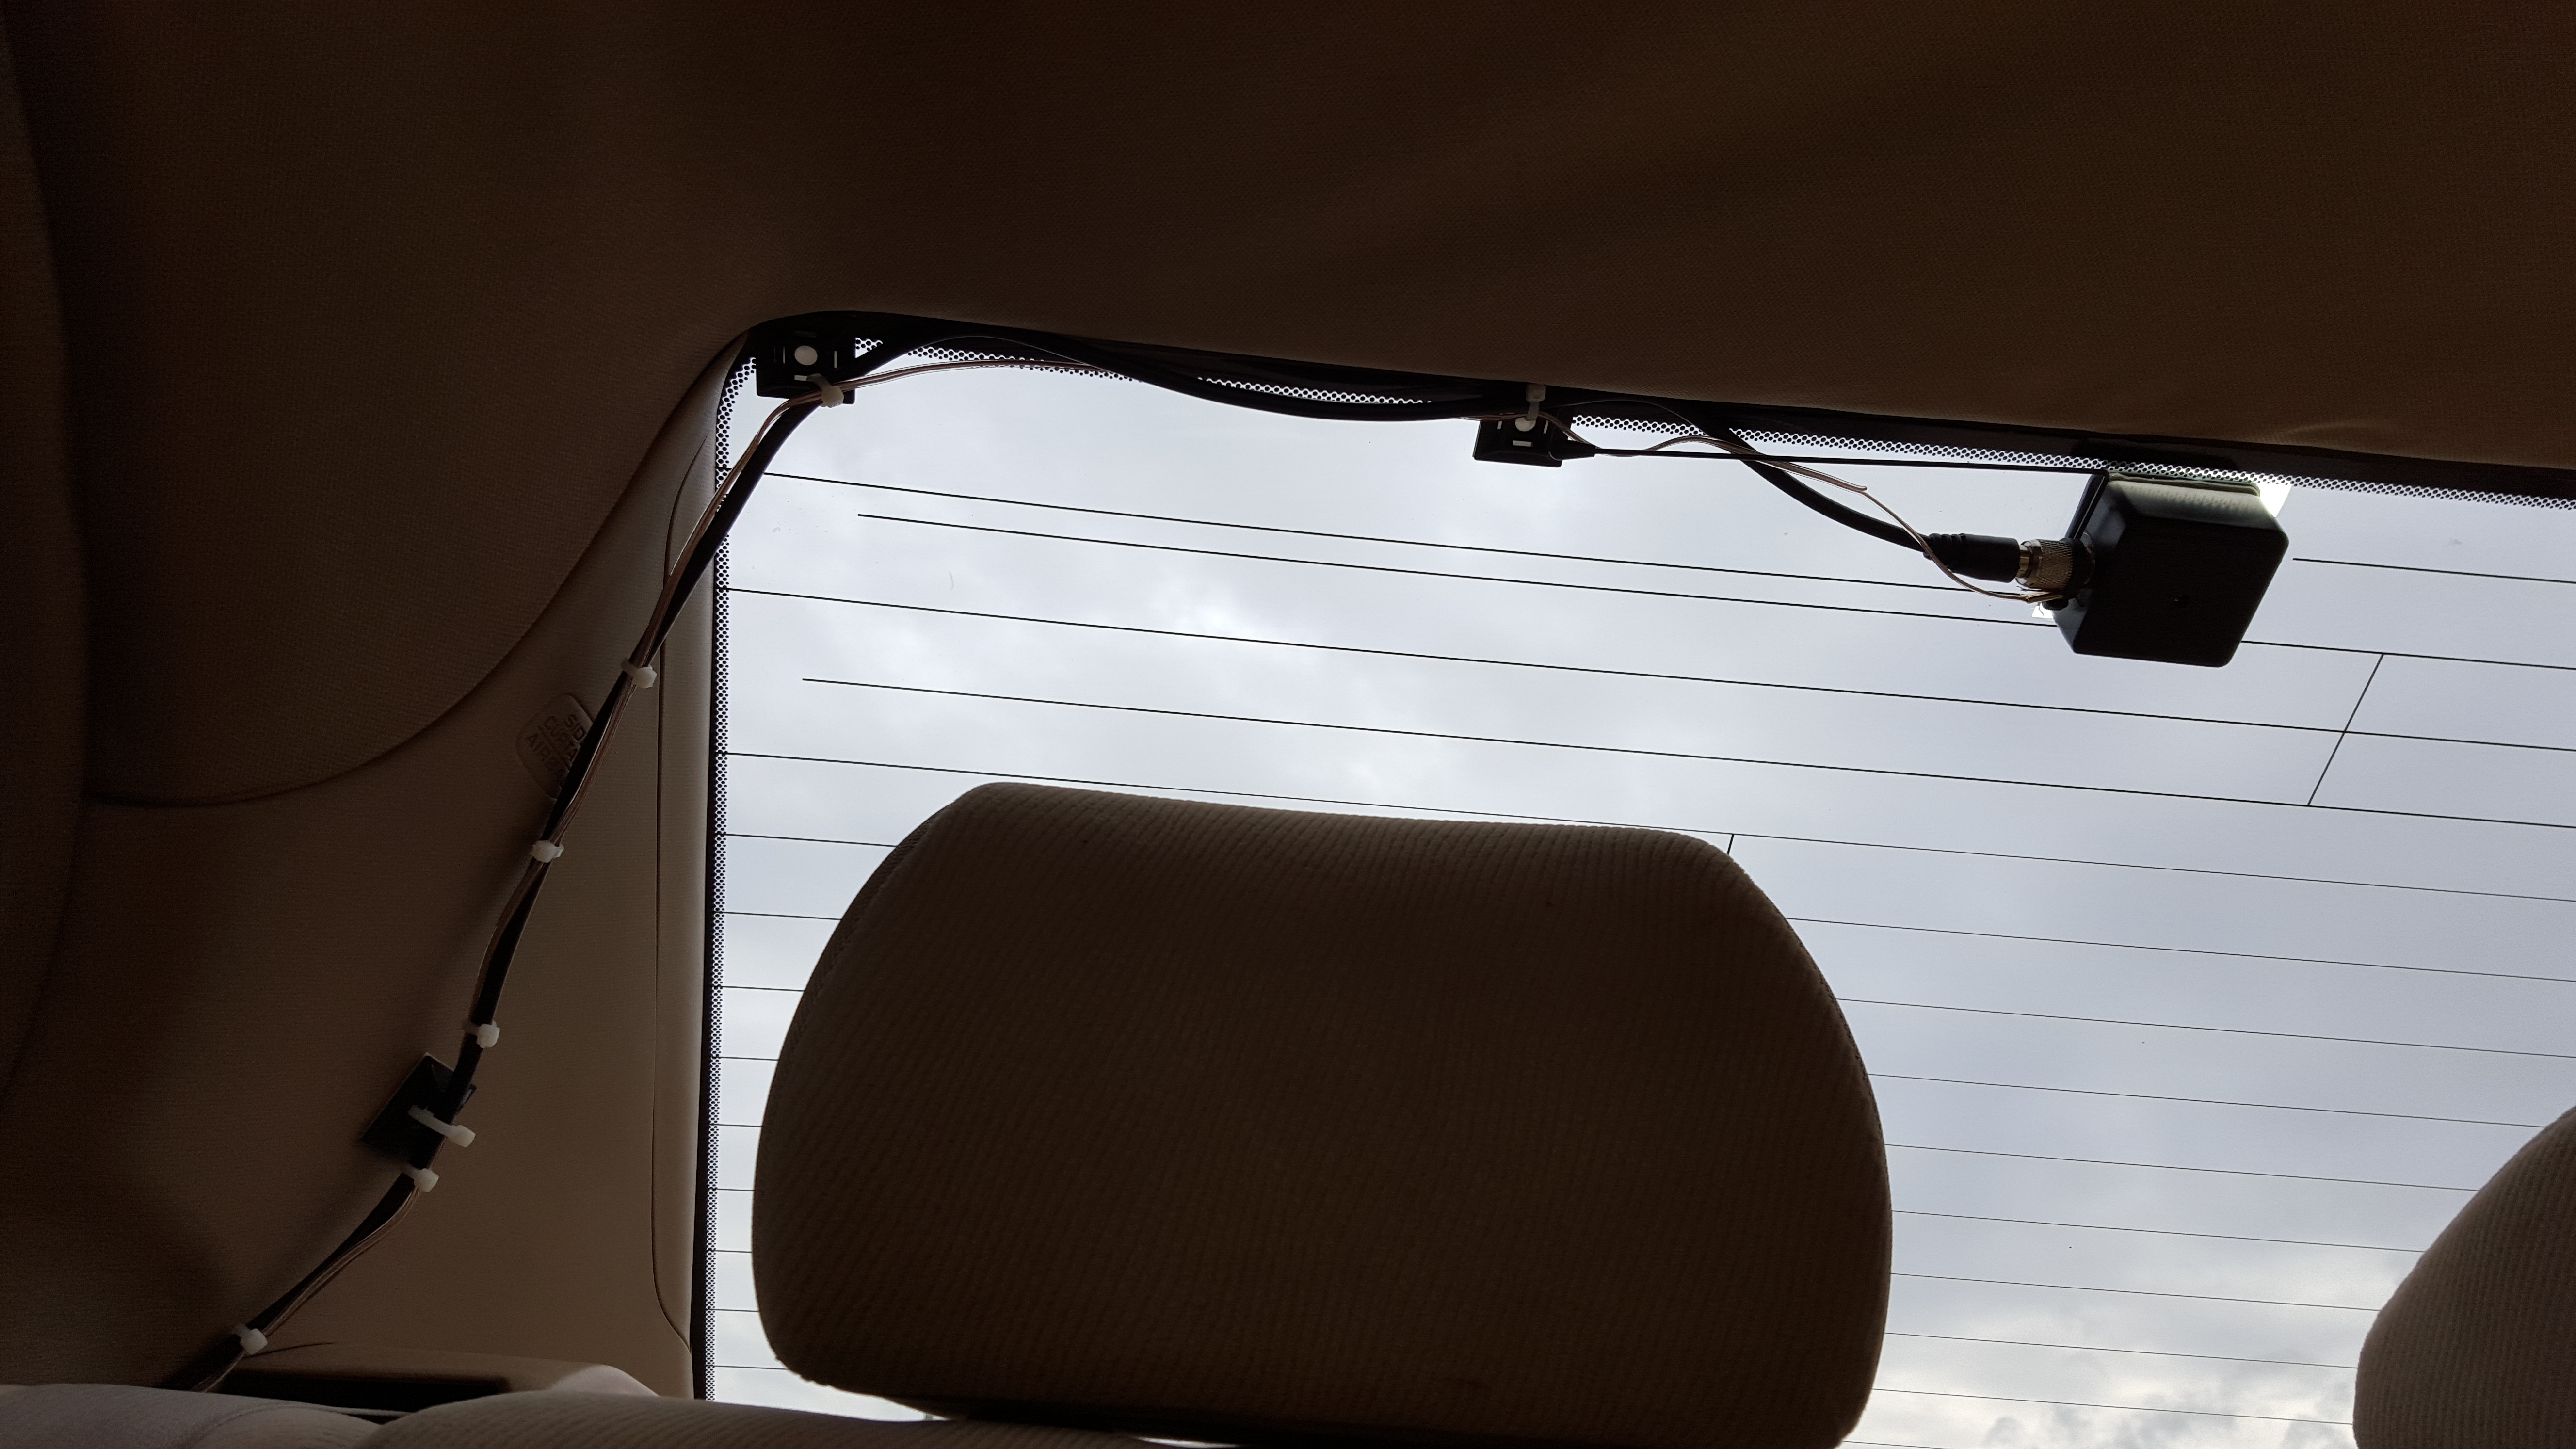
Here is a look at the inside portion and how I routed the coax and ground cable to the trunk. In addition I mounted the speaker up front and I was able to hide it perfectly, and the audio is great.

Overall I am very pleased with this setup, and I’ve been using a local repeater located on top of the Simpsons building inside Universal Studios. Great thing about this repeater is that its linked to a series of nodes via IRLP (Internet Radio Linking Project), so I can chat with people all over the country on UHF/70cm/440MHz!
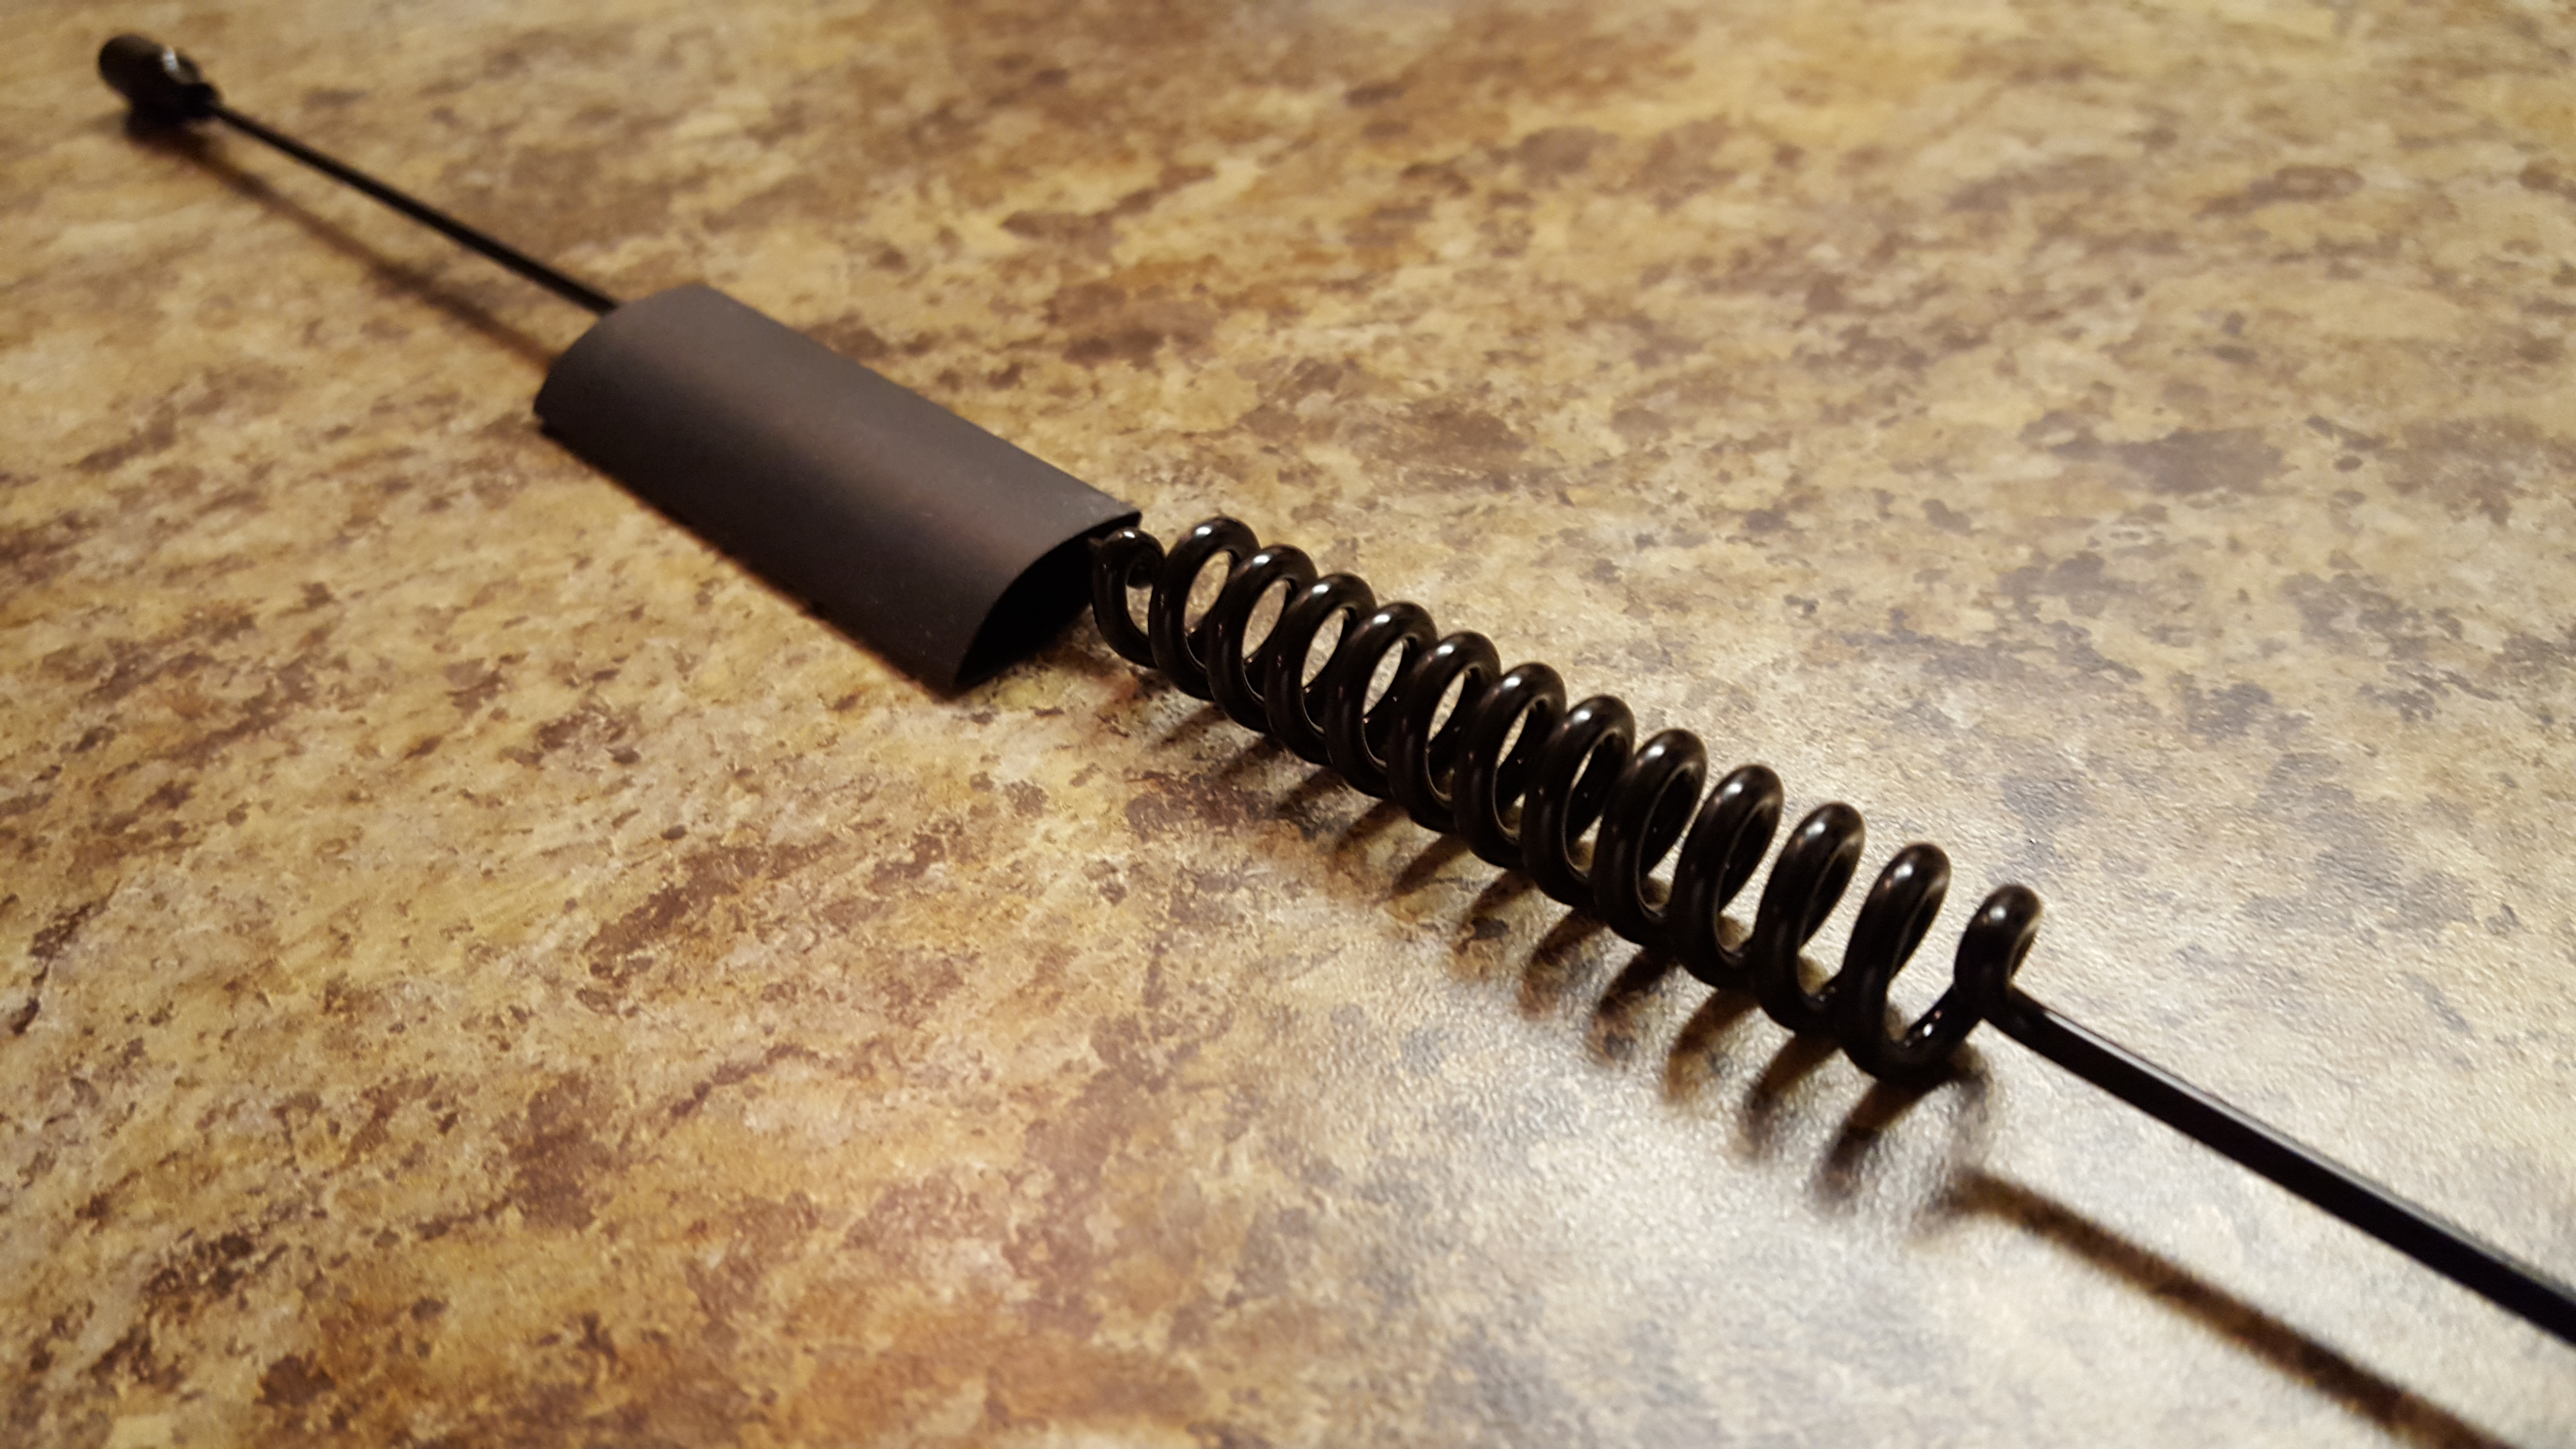
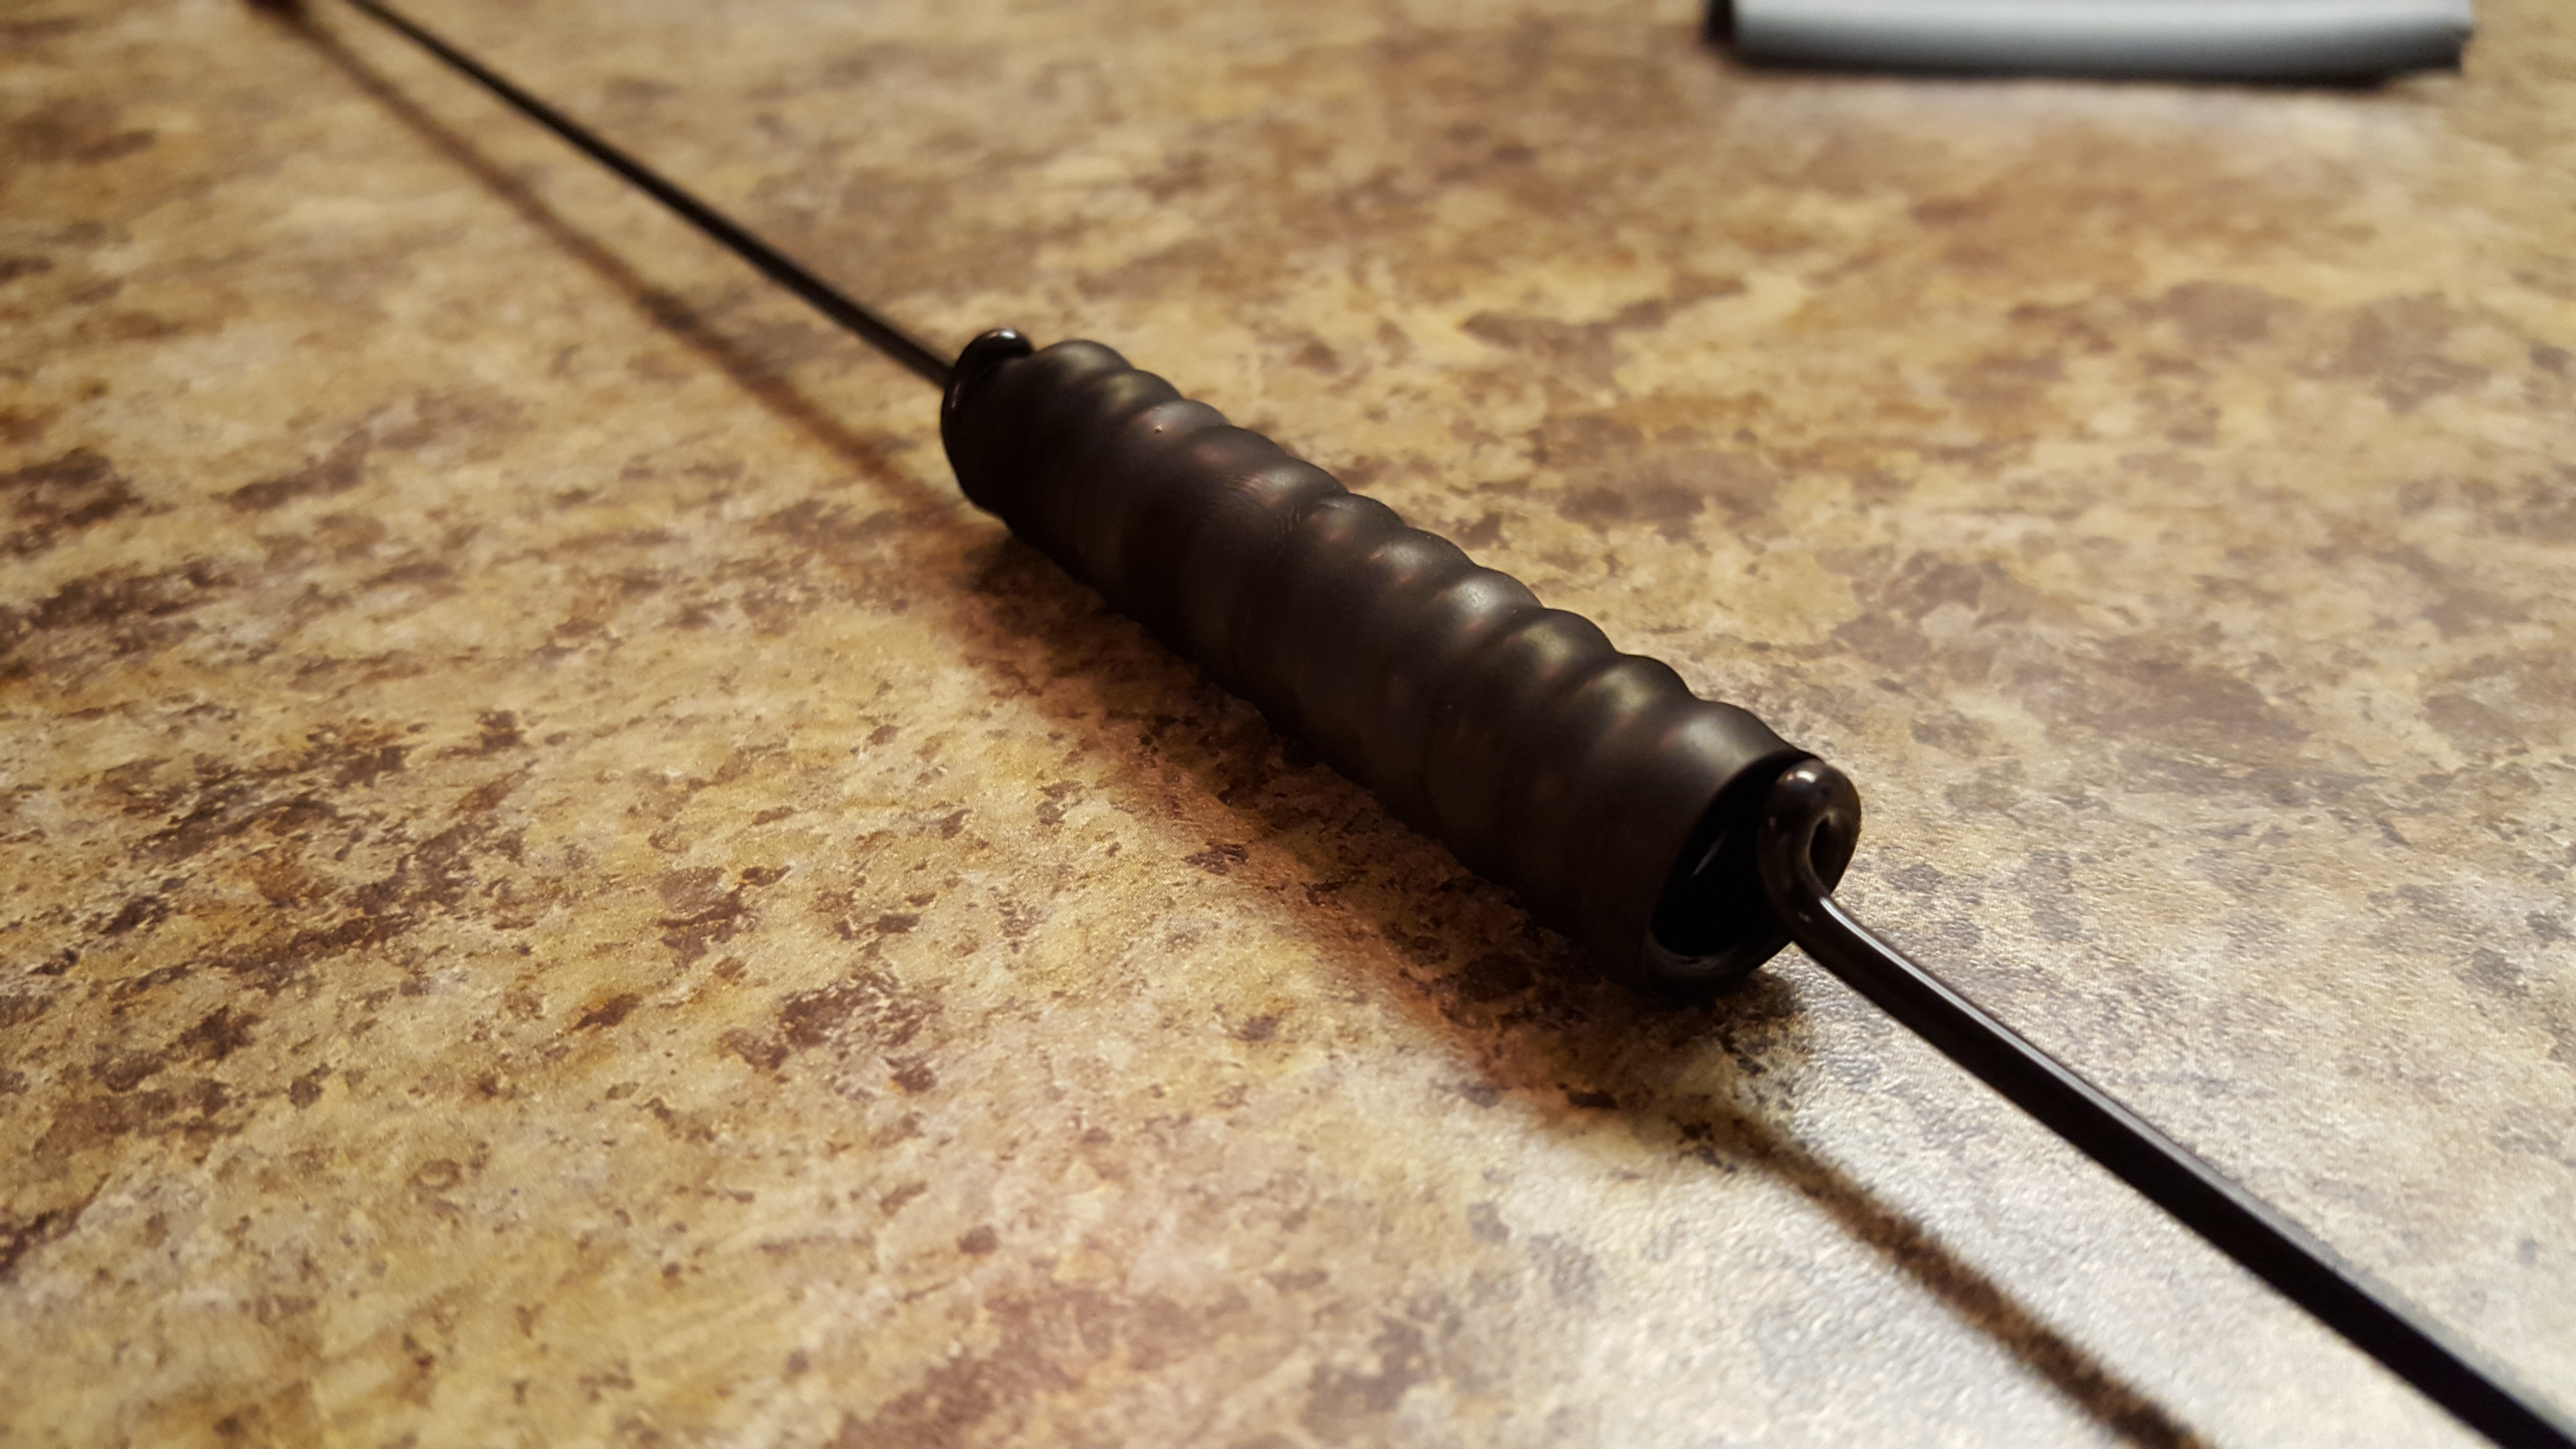
One small hiccup I’ve had is with the antenna. It has a coil located in the center, and when I got up to around 50MPH it would generate a ‘whistle’ noise. Very annoying, but luckily I was able to squelch it by putting some heat shrink around it.
If your interested in learning more about Amateur Radio and/or want to become a HAM operator yourself, you’ll want to head over to the ARRL to get started.
–NØLIN
